Understanding the Basics of Contact Transfer

Before diving into the different methods of transferring contacts, it’s important to understand the basics. Contacts are often saved in different places on Android devices, such as in Google accounts, local storage, or SIM cards. iPhones, on the other hand, sync contacts through iCloud or other accounts like Gmail. Understanding where your contacts are stored on your Android device will help you choose the best method for transferring them to your new iPhone.
Importance of Backup
Always start by backing up your contacts. This precaution ensures that even if something goes wrong during the transfer, you still have a copy of your contacts. Most methods for transferring contacts include a backup step, but it’s always wise to have an extra layer of security.
Using Move to iOS App
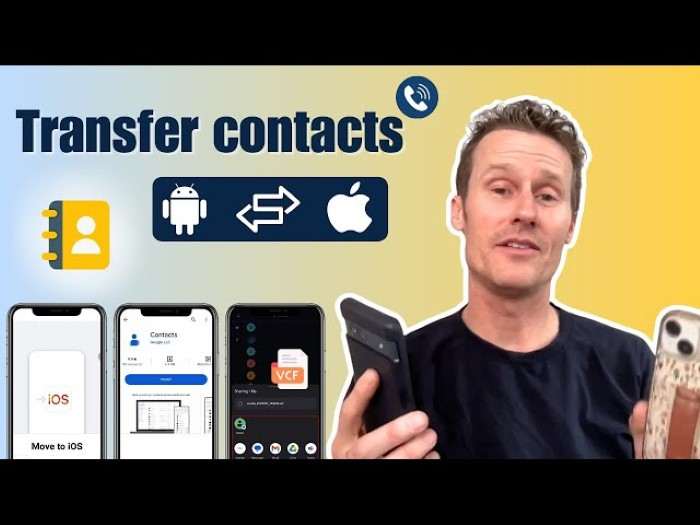
Apple’s Move to iOS app is a convenient tool designed specifically for users who are switching from Android to iPhone. It allows you to transfer your contacts, messages, photos, and more with ease.
Download and Set Up Move to iOS
- Install the App: Download and install the Move to iOS app from the Google Play Store on your Android device.
- Prepare Your iPhone: On your new iPhone, begin the setup process. When you reach the “Apps & Data” screen, select “Move Data from Android.”
- Connect Devices: Open the Move to iOS app on your Android phone and tap “Continue.” You’ll be asked to enter a code, which you can get from your iPhone.
- Transfer Contacts: Enter the code on your Android device, then select “Contacts” along with any other data you wish to transfer. Tap “Next” to start the transfer process.
Tips for Using Move to iOS
- Ensure Both Devices are Charged: Keep both devices connected to a power source during the transfer.
- Use a Stable Wi-Fi Connection: A stable and strong Wi-Fi connection ensures that the transfer goes smoothly.
Syncing Contacts through Google Account
If you’ve been using a Google account on your Android device, syncing contacts through Google is a straightforward method.
Sync Contacts with Google Account
- Sync Contacts on Android: Go to “Settings” on your Android device, then navigate to “Accounts” and select your Google account. Ensure that the “Contacts” option is enabled for synchronization.
- Add Google Account to iPhone: On your iPhone, go to “Settings” > “Mail” > “Accounts” > “Add Account” and select “Google.” Enter your Google account credentials.
- Sync Contacts: Ensure that the “Contacts” option is enabled for synchronization in the account settings. Your contacts will start syncing with your iPhone.
Tips for Syncing with Google
- Check Sync Status: After adding your Google account to your iPhone, check if your contacts are syncing correctly.
- Update Google Contacts: Make sure your Google Contacts are up-to-date before syncing to avoid missing any recent additions.
Exporting Contacts via VCF File

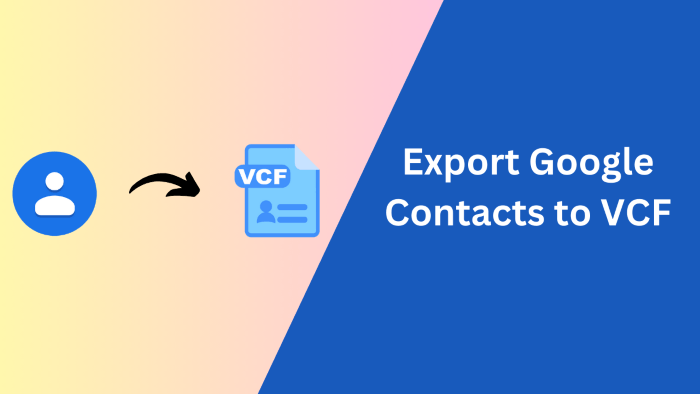
Exporting your contacts as a VCF (vCard) file is another reliable method, especially if you prefer a manual approach.
Export Contacts from Android
- Open Contacts App: On your Android device, open the “Contacts” app.
- Export Contacts: Tap on the menu (three dots) and select “Export.” Choose “Export to .vcf file” and save the file to your device’s storage or cloud.
Import Contacts to iPhone
- Email VCF File: Email the VCF file to yourself from your Android device.
- Open on iPhone: On your iPhone, open the email and tap on the VCF file attachment. Select “Add All Contacts” to import the contacts to your iPhone.
Tips for Using VCF Files
- Check File Size: Large VCF files might take longer to import, so be patient.
- Verify Imported Contacts: After importing, check your contacts list to ensure all entries are present and correct.
Using Third-Party Apps
Several third-party apps are designed to simplify the process of transferring contacts between devices. These apps often offer additional features like transferring other types of data.
Popular Third-Party Apps
- My Contacts Backup: This app allows you to back up and transfer your contacts easily.
- Copy My Data: A straightforward app for transferring contacts, photos, and more.
- Dr.Fone – Phone Transfer: A comprehensive tool for transferring various types of data between different devices.
Using a Third-Party App
- Install the App: Download and install the chosen app on both your Android and iPhone devices.
- Follow Instructions: Open the app and follow the on-screen instructions to transfer your contacts.
- Verify Transfer: After the transfer is complete, check your iPhone contacts to ensure everything was moved correctly.
Tips for Using Third-Party Apps
- Read Reviews: Choose an app with positive reviews and a good track record.
- Check Compatibility: Ensure that the app is compatible with your specific Android and iPhone models.
Troubleshooting Common Issues

Even with the best methods, you might encounter issues during the transfer process. Here’s how to troubleshoot some common problems.
Contacts Not Appearing
- Check Sync Settings: Ensure that synchronization settings are correctly configured on both devices.
- Restart Devices: Sometimes, a simple restart can resolve synchronization issues.
- Update Software: Make sure both your Android and iPhone are running the latest software updates.
Partial Transfer
- Verify Export Settings: Ensure that the export or transfer settings include all your contacts.
- Retry the Transfer: If only some contacts were transferred, attempt the transfer process again.
Related Post:
Do AirTags Work with Android? A Comprehensive Guide
How to Check Screen Time on Android: A Comprehensive Guide
How to Record Audio on Android: A Comprehensive Guide
Transferring contacts from Android to iPhone doesn’t have to be a complex task. With various methods at your disposal, including the Move to iOS app, Google account sync, VCF file export, and third-party apps, you can choose the one that best fits your needs. By following the steps outlined in this guide, you’ll ensure a smooth transition and have all your important contacts ready on your new iPhone.
Remember to back up your contacts before starting the transfer and troubleshoot any issues that may arise. Happy transitioning, and enjoy your new iPhone with all your valuable contacts in place!


