Introduction to Android Screenshots

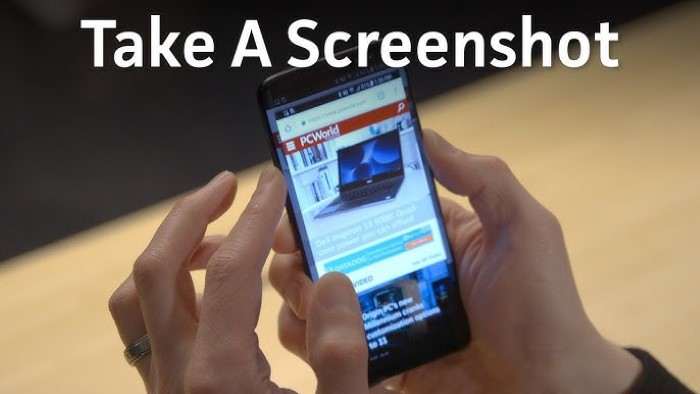
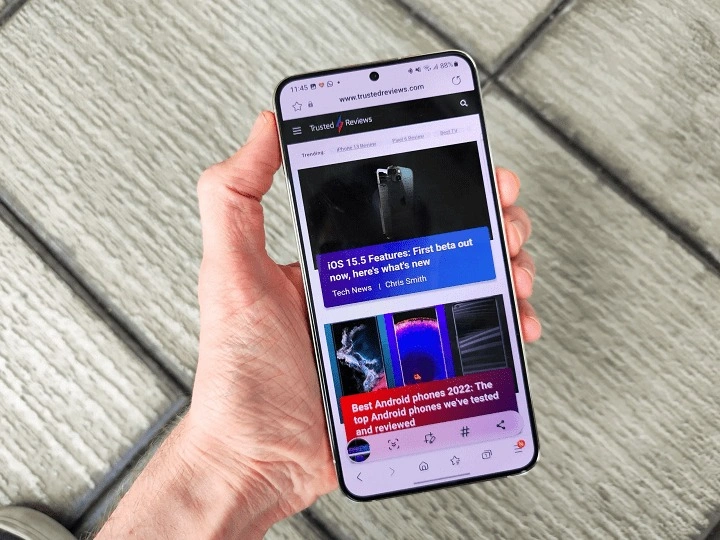
Screenshots are a versatile tool on Android devices, allowing users to capture whatever is displayed on their screen at any given moment. This feature can be useful for a variety of reasons, including:
- Sharing Information: Quickly share news articles, messages, or social media posts.
- Saving Content: Save important details like flight tickets or receipts.
- Troubleshooting: Capture error messages or issues to seek help or document problems.
Understanding how to effectively take and manage screenshots can enhance your overall Android experience.
Built-In Methods for Taking Screenshots
Android devices come with several built-in methods to capture screenshots. These methods vary slightly depending on your device and Android version.
Using the Power and Volume Buttons
One of the most common ways to take a screenshot on Android is by using the hardware buttons:
- Press and Hold: Simultaneously press and hold the Power button and Volume Down button.
- Capture: Release the buttons when you see a flash or hear a shutter sound indicating the screenshot has been taken.
- Notification: A notification will appear briefly at the top of the screen indicating that the screenshot has been captured.
Using the Notification Shade
On many Android devices, you can take a screenshot from the Notification Shade:
- Swipe Down: Swipe down from the top of the screen to access the Notification Shade.
- Locate Screenshot Icon: Look for the “Screenshot” icon among the quick settings options.
- Tap to Capture: Tap the “Screenshot” icon to capture the current screen.
Using Google Assistant
Google Assistant can also help you take screenshots:
- Activate Google Assistant: Say “Hey Google” or press and hold the Home button (depending on your device).
- Voice Command: Say “Take a screenshot.”
- Confirmation: Google Assistant will capture the screen and provide a notification.
Using the Power Menu
Some Android devices offer an option to capture screenshots through the Power Menu:
- Press and Hold Power Button: Press and hold the Power button until the Power Menu appears.
- Select Screenshot: Tap the “Screenshot” option from the menu.
- Capture: The screen will be captured, and a notification will appear.
Taking Screenshots on Different Android Versions

Different versions of Android might have slight variations in the screenshot process. Here’s how to take screenshots on various Android versions:
Android 10 and Earlier
- Power + Volume Down: Press and hold the Power button and Volume Down button simultaneously.
- Notification Shade: Swipe down from the top and tap the “Screenshot” icon if available.
- Power Menu: Access the Power Menu and select “Screenshot.”
Android 11 and Newer
- Power + Volume Down: This method remains the same for most devices.
- Screenshot Toolbar: After taking a screenshot, a toolbar appears at the bottom of the screen with options to share, edit, or delete the screenshot.
- Power Menu: Some devices offer a “Screenshot” option directly from the Power Menu.
Screenshots on Specific Android Devices
Different manufacturers might implement unique features for taking screenshots. Here’s how to take screenshots on popular Android devices:
Samsung Galaxy Devices
Samsung Galaxy devices offer additional features for screenshots:
- Power + Volume Down: The standard method works across most Samsung devices.
- Palm Swipe: Enable “Palm Swipe to Capture” in Settings under Advanced Features. Swipe your hand across the screen to capture a screenshot.
- Bixby Voice: Use Bixby by saying “Hey Bixby, take a screenshot.”
Google Pixel Devices
Google Pixel devices often use the standard Android methods but with some enhancements:
- Power + Volume Down: Standard method for taking screenshots.
- Google Assistant: Say “Hey Google, take a screenshot” for hands-free capturing.
OnePlus Devices
OnePlus devices follow the standard methods with some additional features:
- Power + Volume Down: Standard method for taking screenshots.
- Three-Finger Screenshot: Enable “Three-Finger Screenshot” in Settings under Buttons & Gestures. Swipe down with three fingers to capture.
Using Third-Party Apps for Screenshots
While built-in methods are usually sufficient, third-party apps can offer additional features and customization.
Top Screenshot Apps
Several apps provide advanced screenshot features:
- Screenshot Easy: Offers options for capturing screenshots via overlays, widgets, or shaking the device.
- Screen Master: Provides annotation tools, scrolling screenshots, and various capture methods.
- AZ Screen Recorder: Known for screen recording, but also includes screenshot capabilities with editing options.
Features to Look for in Screenshot Apps
When choosing a third-party app, consider the following features:
- Annotation Tools: Ability to edit and annotate screenshots.
- Scrolling Capture: Option to capture long or scrolling screenshots.
- Customization: Settings to customize screenshot triggers and actions.
Managing and Editing Your Screenshots

After capturing screenshots, managing and editing them can help you make the most out of them.
Locating Your Screenshots
Screenshots are typically saved in the “Screenshots” folder within the Photos or Gallery app. To locate them:
- Open Photos/Gallery App: Launch your default photo viewing app.
- Navigate to Albums: Go to the “Albums” section.
- Find Screenshots Folder: Open the “Screenshots” folder to view your captured images.
Editing Screenshots
Editing screenshots can enhance their clarity or add annotations:
- Open Screenshot: Open the screenshot in the Photos/Gallery app.
- Tap Edit: Look for the edit icon (usually a pencil or similar icon).
- Make Changes: Use available tools to crop, rotate, add text, or draw on the screenshot.
- Save: Save the edited version.
Sharing Screenshots
Sharing screenshots can be done directly from the notification or through the Photos/Gallery app:
- Open Notification: Tap the screenshot notification to access sharing options.
- Select App: Choose an app to share the screenshot, such as messaging apps or social media.
- Share: Follow the prompts to send or post the screenshot.
Troubleshooting Common Issues
Sometimes, users encounter issues with screenshots. Here’s how to troubleshoot:
Screenshots Not Working
If screenshots aren’t working:
- Restart Device: Sometimes a simple restart can resolve the issue.
- Check Button Functionality: Ensure the Power and Volume Down buttons are working correctly.
- Update Software: Ensure your device is running the latest software updates.
- Check Permissions: Some apps or settings might interfere with screenshot functionality.
Screenshot Quality Issues
For issues with screenshot quality:
- Check Resolution Settings: Ensure your device is set to the highest resolution.
- Update Apps: Make sure any third-party screenshot apps are updated.
- Check Storage: Ensure there is enough storage space on your device.
Related Post:
The Ultimate Guide to Waste Management Phone Numbers: How to Dispose of Waste Responsibly
How to Reach Navy Federal: A Comprehensive Guide to Finding the Right Phone Number
Comprehensive Guide to Finding the Best Phone Repair Services Near You
Taking screenshots on Android devices is a straightforward process with multiple methods available to suit your preferences. From basic hardware button combinations to advanced gesture controls and Google Assistant, Android offers a variety of ways to capture your screen. Customizing your screenshot experience through editing and annotation tools further enhances the usefulness of this feature.
By following this comprehensive guide, you should be able to easily take and manage screenshots on your Android device. If you encounter any issues, refer to the troubleshooting tips provided to resolve common problems. With these skills, you’ll be better equipped to capture and share important information efficiently.


