This guide will walk you through the various methods, tools, and tips for recording audio on Android. We’ll cover everything from built-in apps to third-party applications, ensuring you have all the information you need to get started.
Why Record Audio on Android?

Before diving into the how-to, it’s essential to understand why recording audio on your Android device can be beneficial:
- Portability: Your smartphone is always with you, making it a convenient tool for on-the-go recording.
- Quality: Modern Android devices come equipped with advanced microphones, allowing for high-quality recordings.
- Versatility: From personal notes to professional recordings, the applications for audio recording are vast.
Getting Started: Preparing Your Android Device for Audio Recording
Before you start recording, there are a few preparatory steps you should take to ensure the best possible outcome:
Check Your Device’s Microphone
The quality of your recording will heavily depend on the quality of your device’s microphone. Most Android phones have decent microphones, but it’s worth testing yours by recording a short clip and listening back to it.
Ensure Sufficient Storage
Audio files, especially high-quality ones, can take up significant storage space. Before you begin recording, check that your device has enough free space to store your recordings.
Disable Notifications
Notifications can disrupt your recording and add unwanted noise. It’s a good idea to put your phone on “Do Not Disturb” mode while recording.
Using the Built-In Voice Recorder App
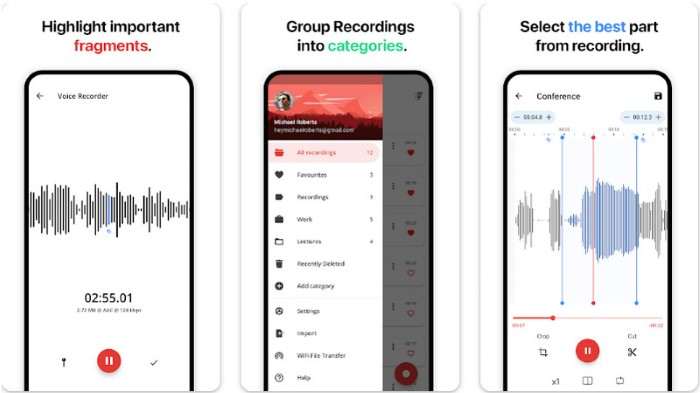
Most Android devices come with a built-in voice recorder app. This app is usually straightforward and user-friendly, making it an excellent choice for quick recordings.
How to Find the Voice Recorder App
The voice recorder app is typically pre-installed on your Android device. To locate it:
- Open the App Drawer by swiping up from the home screen.
- Use the search bar at the top and type in “Voice Recorder” or “Recorder”.
- Tap on the app icon to open it.
Recording Audio with the Built-In App
Once you’ve opened the Voice Recorder app, follow these steps to start recording:
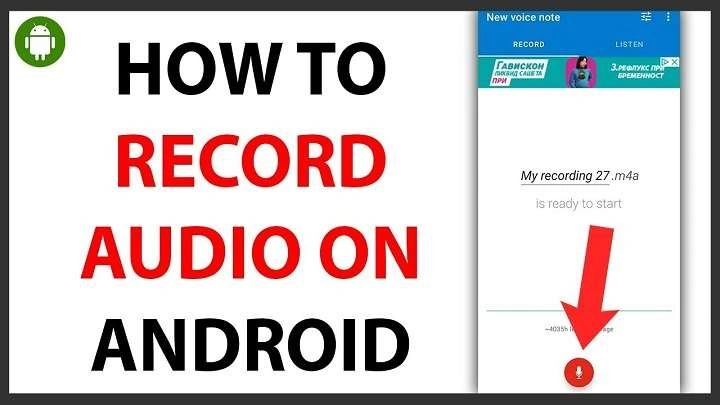
- Tap the Record Button: This is usually a red circle. Once you tap it, the recording will begin.
- Speak Clearly and Closely to the Microphone: For best results, hold your phone close to your mouth and speak clearly.
- Pause or Stop the Recording: You can pause the recording if needed, or tap the stop button (usually a square) to finish.
- Save Your Recording: Once stopped, the app will prompt you to save the recording. You can name it and save it to a specific location on your device.
Managing Your Recordings
After recording, you can find your saved files within the app. Here, you can play back, share, or delete your recordings.
Using Google Recorder (Pixel Devices)

For those with Google Pixel devices, the Google Recorder app offers an advanced and feature-rich audio recording experience.
What Makes Google Recorder Special?
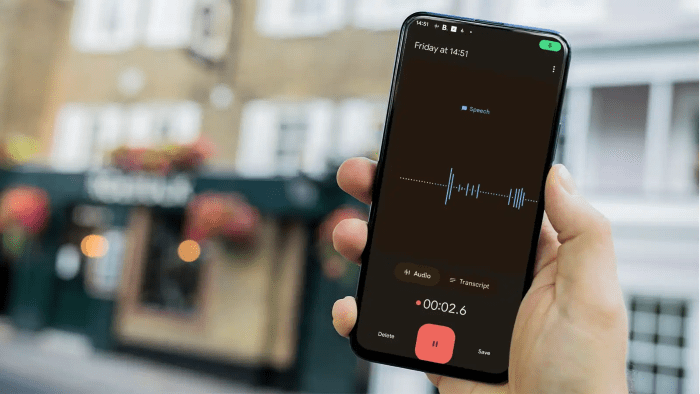
Google Recorder not only records audio but also transcribes it in real time. This is particularly useful for journalists, students, and anyone who needs a text version of their audio recordings.
How to Use Google Recorder
- Open Google Recorder: This app comes pre-installed on Pixel devices.
- Tap the Record Button: As with the built-in voice recorder, the recording starts when you tap the red button.
- View the Real-Time Transcription: As you speak, you’ll see your words being transcribed on the screen.
- Stop and Save: Once you’ve finished recording, tap the stop button and save your file.
Editing and Sharing Your Recording
Google Recorder allows you to edit your recordings by trimming them and even editing the transcription. You can also share both the audio and the transcription directly from the app.
Recording Calls on Android
Recording calls on Android can be a bit tricky due to privacy laws and restrictions. However, there are still ways to do it legally and effectively.
Legal Considerations
Before recording any calls, make sure you are aware of the legalities in your country or state. In some regions, you must inform the other party that the call is being recorded.
Using Google Voice
Google Voice is a popular option for recording incoming calls.
How to Use Google Voice:
- Set Up Google Voice: You’ll need a Google Voice number.
- Enable Call Recording: Go to Settings > Calls > Incoming call options, and enable call recording.
- Record an Incoming Call: During a call, press “4” on the keypad to start recording.
Third-Party Call Recording Apps
Apps like ACR Call Recorder can be used to record both incoming and outgoing calls. These apps usually require additional permissions and may not work on all devices due to Android’s security features.
Tips for High-Quality Audio Recording on Android
To ensure your recordings are of the highest quality, follow these tips:
Choose a Quiet Environment
Background noise can ruin an otherwise perfect recording. Find a quiet spot to record, or use noise-canceling features if your app offers them.
Use an External Microphone
While the built-in microphone on your device is adequate, an external microphone can significantly improve audio quality. You can use USB or Bluetooth microphones compatible with your Android device.
Mind Your Battery
Recording can drain your battery quickly. Ensure your device is fully charged, or keep a charger or power bank nearby.
Test Your Setup
Before starting an important recording, do a quick test run to check the audio levels and quality. This will help you avoid any surprises during the actual recording.
Storing and Managing Your Audio Recordings

Managing your audio files is crucial for easy access and organization. Here’s how you can store and manage your recordings efficiently:
Organize by Folders
Create specific folders for different types of recordings (e.g., Lectures, Interviews, Music Ideas) to keep everything organized.
Backup Your Files
To avoid losing important recordings, regularly back them up to cloud storage or an external hard drive.
Edit and Trim Recordings
Use built-in editing features or download audio editing apps like WaveEditor to trim and enhance your recordings.
Sharing Your Audio Recordings
Once you’ve recorded and edited your audio, you may want to share it with others. Here’s how:
Sharing via Messaging Apps
Most recording apps allow you to share your recordings directly through messaging apps like WhatsApp, Messenger, or SMS.
Emailing Your Recordings
For larger files, email might be the better option. Use the sharing feature within your recording app to send the file via email.
Uploading to Cloud Storage
Upload your recordings to cloud services like Google Drive, Dropbox, or OneDrive for easy access and sharing.
Troubleshooting Common Audio Recording Issues
Even with the best tools and preparation, you might encounter some issues while recording audio on Android. Here’s how to troubleshoot common problems:
Low Audio Quality
If your recordings sound muffled or unclear, try the following:
- Clean your microphone.
- Use an external microphone.
- Record in a quieter environment.
App Crashes or Freezes
If your recording app crashes frequently:
- Ensure your app is up to date.
- Restart your device.
- Clear the app’s cache.
Storage Issues
If you run out of storage while recording:
- Transfer older recordings to an external storage device or cloud service.
- Delete unnecessary files from your device.
Related Post:
Popular Google Doodle Games: A Journey Through Time
The Ultimate Guide to the CONCACAF Gold Cup Games
Money Apps Like Dave: A Comprehensive Guide to Modern Financial Management
Recording audio on an Android device is a powerful and versatile tool that can serve a wide range of purposes. Whether you’re using the built-in app, taking advantage of Google Recorder’s transcription features, or exploring third-party apps, there’s a solution that fits your needs.
By following this comprehensive guide, you should now have all the knowledge you need to start recording high-quality audio on your Android device. Remember to prepare your environment, choose the right tools, and manage your recordings effectively to make the most out of your audio recording endeavors.


