Understanding Trash on Android Devices

Before diving into the steps for emptying the trash, it’s essential to understand what “trash” means in the context of Android devices. Unlike traditional computers, Android devices don’t have a universal trash or recycle bin feature. Instead, the concept of “trash” can vary depending on the apps and file management systems you use.
System Trash vs. App-Specific Trash
On Android, system trash and app-specific trash function differently:
- System Trash: Some Android devices have a built-in trash or recycle bin for managing deleted files. This feature is often found in the Files app or under storage settings.
- App-Specific Trash: Many apps, such as email clients and photo editors, have their own trash or deleted items folders. These need to be managed separately.
Emptying the Trash in System Storage
To keep your Android device running smoothly, periodically emptying system storage trash is essential. Here’s how you can do it:
Accessing the Files App
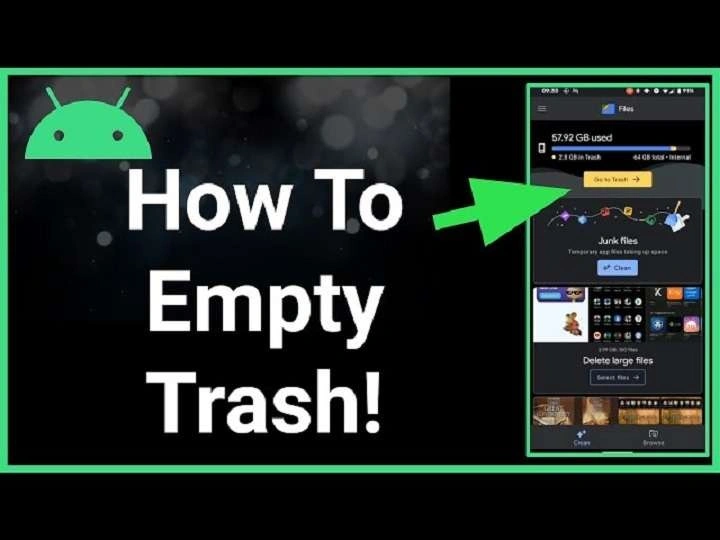
Most Android devices come with a built-in Files app. This app often includes a trash or recycle bin feature.
- Open the Files App: Locate and tap on the Files app on your home screen or app drawer.
- Navigate to Trash: Look for the “Trash” or “Recycle Bin” option in the app’s menu.
- Review and Empty Trash: You’ll see a list of deleted files. Review them if needed, then tap on “Empty Trash” or “Delete All” to free up space.
Managing Storage through Settings
If your device doesn’t have a dedicated trash feature, you can manage storage through the settings:
- Go to Settings: Open the Settings app on your device.
- Select Storage: Tap on “Storage” to view your device’s storage usage.
- Clear Cache and Junk Files: Look for options like “Clean up” or “Free up space” to remove temporary files and cached data.
Emptying Trash in Specific Apps

Since different apps handle trash differently, here’s how to manage deleted items in some commonly used apps:
Gmail and Other Email Apps
Email apps often have a trash or deleted items folder where deleted emails are temporarily stored.
- Open the Email App: Launch Gmail or your preferred email app.
- Navigate to Trash: Go to the “Trash” or “Deleted Items” folder.
- Empty Trash: Tap on “Empty Trash” or select all items and delete them permanently.
Google Photos
Google Photos includes a trash bin where deleted photos are kept for a short period.
- Open Google Photos: Launch the Google Photos app.
- Access Trash: Tap on “Trash” from the side menu or bottom bar.
- Permanently Delete Photos: Select the photos you want to delete permanently and tap “Empty Trash” or “Delete All.”
File Manager Apps
Some third-party file manager apps come with their own trash or recycle bin features.
- Open the File Manager App: Launch the file manager app you use.
- Find Trash: Look for the “Trash” or “Recycle Bin” option in the app’s menu.
- Clear Trash: Review the files and tap “Empty Trash” or “Delete All.”
Tips for Managing and Avoiding Trash Build-Up

Emptying trash is just one part of managing your Android device’s storage. Here are some additional tips to keep your device in top shape:
Regularly Review and Delete Unnecessary Files
- Set Reminders: Schedule regular checks to delete unnecessary files and clear app caches.
- Use Storage Management Apps: Consider using apps designed to help manage and clean up storage.
Optimize App Settings
- Manage App Data: Regularly clear app data and caches to prevent unnecessary storage use.
- Uninstall Unused Apps: Periodically review and uninstall apps you no longer use.
Back Up Important Data
- Use Cloud Storage: Store important files in cloud storage services like Google Drive or Dropbox to free up local storage.
- Regular Backups: Ensure that your important data is backed up regularly to avoid accidental loss.
Troubleshooting Common Issues
Even with regular maintenance, you might encounter issues with emptying trash or managing storage. Here’s how to troubleshoot some common problems:
Trash Not Emptying
- Restart Your Device: Sometimes a simple restart can resolve issues with deleting files.
- Check App Permissions: Ensure that the app you’re using to manage trash has the necessary permissions.
Insufficient Storage Space
- Clear More Space: If you’re still low on storage, consider deleting large files or moving them to an external storage device.
- Factory Reset: As a last resort, a factory reset can clear all data and restore your device to its original state. Be sure to back up important data before proceeding.
Related Post:
How to Update Your Android Phone
Mastering the Clipboard on Your Android Phone
Managing trash on an Android device is crucial for maintaining optimal performance and ensuring you have enough storage space for your needs. By understanding the different types of trash and following the steps outlined in this guide, you can effectively keep your device running smoothly. Regular maintenance, combined with good storage practices, will help you get the most out of your Android device and avoid common storage issues.


