Understanding the Importance of Photo Transfer

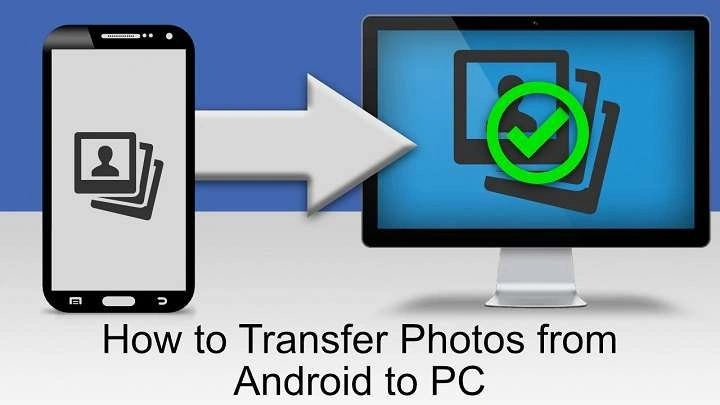
Before diving into the methods, it’s essential to understand why transferring photos from your Android device to a PC is important. Your smartphone’s storage is limited, and keeping numerous high-resolution photos can quickly consume your available space. By transferring these photos to a PC, you can:
- Free Up Storage Space: Avoid running out of space on your smartphone.
- Backup Important Memories: Ensure that your photos are safe in case your device is lost or damaged.
- Organize Your Photo Library: Easily sort and manage your photos on a larger screen.
Preparation: What You Need Before Starting
Before you start transferring photos, make sure you have the following:
- A Computer (PC): Ensure your PC is powered on and ready.
- A USB Cable: This is the most straightforward way to connect your Android device to your PC.
- Your Android Device: Ensure it’s charged and unlocked.
- Proper Software: Some methods might require specific software or drivers.
Using a USB Cable to Transfer Photos
Connecting Your Android Device to Your PC
- Connect the USB Cable: Plug one end of the USB cable into your Android device and the other end into a USB port on your PC.
- Select USB Connection Type: On your Android device, you may see a notification about the USB connection. Swipe down the notification bar and select “File Transfer” or “MTP” (Media Transfer Protocol). This allows your PC to access your phone’s storage.
Accessing and Transferring Photos
- Open File Explorer on Your PC: Go to “This PC” or “Computer” and find your Android device listed under “Devices and Drives.”
- Navigate to the Photos Folder: Open the device folder and navigate to the DCIM folder, where most of your photos are stored.
- Select and Copy Photos: Select the photos you want to transfer, right-click and choose “Copy.” Then, navigate to a folder on your PC where you want to store the photos and right-click to choose “Paste.”
Disconnecting Your Device Safely
- Eject the Device: In File Explorer, right-click on your Android device and select “Eject” before unplugging the USB cable. This ensures that all files are properly transferred and prevents data corruption.
Using Google Photos to Sync and Transfer

Setting Up Google Photos on Your Android Device
- Download Google Photos: If not already installed, download the Google Photos app from the Google Play Store.
- Sign In: Open the app and sign in with your Google account.
- Enable Backup and Sync: Go to “Settings” and enable “Back up & sync” to ensure your photos are automatically uploaded to Google Photos.
Accessing Photos from Your PC
- Open Google Photos on Your PC: Go to the Google Photos website (photos.google.com) and sign in with the same Google account used on your Android device.
- Download Photos: Browse through your photos, select the ones you want to download, and click the three-dot menu icon. Choose “Download” to save the photos to your PC.
Advantages of Using Google Photos
- Automatic Backup: Your photos are automatically backed up without manual intervention.
- Access Anywhere: You can access your photos from any device with internet access.
Using Bluetooth to Transfer Photos
Pairing Your Android Device with Your PC
- Turn on Bluetooth on Your PC: Go to “Settings” > “Devices” > “Bluetooth & other devices” and turn on Bluetooth.
- Enable Bluetooth on Your Android Device: Go to “Settings” > “Bluetooth” and make sure Bluetooth is turned on.
- Pair the Devices: On your Android device, tap “Pair new device” and select your PC from the list of available devices. Confirm the pairing request on both devices.
Sending Photos via Bluetooth
- Select Photos on Your Android Device: Open the Gallery or Photos app, select the photos you want to transfer.
- Send via Bluetooth: Tap the “Share” icon and choose “Bluetooth” from the list of sharing options. Select your PC from the list of paired devices.
- Receive and Save Photos on Your PC: Accept the transfer request on your PC. Once the transfer is complete, save the photos to your desired location on your PC.
Considerations When Using Bluetooth
- Transfer Speed: Bluetooth transfers can be slower compared to USB or cloud methods, especially for large photo collections.
- Range Limitations: Ensure both devices are within range to maintain a stable Bluetooth connection.
Using a Memory Card Reader
Removing the Memory Card from Your Android Device
- Power Off Your Device: Turn off your Android device before removing the memory card.
- Locate the Memory Card Slot: Find the memory card slot, usually on the side or back of the device.
- Remove the Memory Card: Carefully eject the memory card from the slot.
Using a Memory Card Reader to Transfer Photos
- Insert the Memory Card into the Reader: Plug your memory card into a memory card reader.
- Connect the Reader to Your PC: Insert the memory card reader into a USB port on your PC.
- Access and Transfer Photos: Open File Explorer on your PC, navigate to the memory card folder, select the photos, and copy them to your desired location on your PC.
Benefits of Using a Memory Card Reader
- No Need for Cables: Avoids the need for a USB cable.
- Direct Access: Provides direct access to photos stored on the memory card.
Using Cloud Storage Services
Uploading Photos to Cloud Storage
- Choose a Cloud Storage Service: Services like Dropbox, OneDrive, or Google Drive offer free and paid plans for storing files.
- Install the Cloud Storage App: Download and install the app for your chosen service on your Android device.
- Upload Photos: Open the app, sign in, and upload the photos from your Android device.
Accessing and Downloading Photos on Your PC
- Open the Cloud Storage Service on Your PC: Go to the website or open the app on your PC.
- Sign In: Use the same account credentials to access your files.
- Download Photos: Browse to your uploaded photos, select them, and download them to your PC.
Advantages of Using Cloud Storage
- Accessibility: Access your photos from any device with internet access.
- Backup: Provides an additional layer of backup for your photos.
Using File Transfer Apps

Installing and Setting Up File Transfer Apps
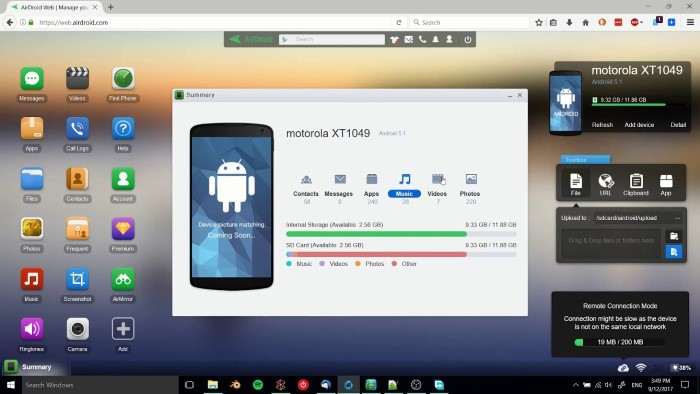
- Download a File Transfer App: Apps like AirDroid, Pushbullet, or SHAREit can facilitate photo transfers.
- Install the App on Both Devices: Follow the instructions to install and set up the app on both your Android device and PC.
Transferring Photos with File Transfer Apps
- Connect Both Devices: Ensure both your Android device and PC are connected to the same Wi-Fi network.
- Send Photos Using the App: Open the app on your Android device, select the photos you want to transfer, and follow the app’s instructions to send them to your PC.
- Receive Photos on Your PC: Accept the transfer request on your PC and save the photos to your desired location.
Benefits of Using File Transfer Apps
- Wireless Transfer: Avoids the need for physical cables.
- Convenience: Simplifies the process with user-friendly interfaces.
Troubleshooting Common Issues
Connection Problems
- Ensure Proper Connection: Check that the USB cable is securely connected, and your device is set to file transfer mode.
- Update Drivers: Make sure your PC’s drivers are up to date, especially for USB and device connectivity.
Slow Transfer Speeds
- Check Cable Quality: Use a high-quality USB cable for faster transfer speeds.
- Close Unnecessary Applications: Close other applications on your PC to allocate more resources to the transfer process.
Syncing Issues with Cloud Services
- Check Internet Connection: Ensure a stable internet connection for smooth syncing.
- Update App: Keep your cloud storage app updated to avoid bugs and compatibility issues.
Related Post:
Apple Music on Android: Comprehensive Guide for 2024
How to Pair AirPods to Android: A Comprehensive Guide
Can You Use AirPods with Android? A Comprehensive Guide
Transferring photos from your Android device to a PC doesn’t have to be a complex task. Whether you use a USB cable, Bluetooth, cloud storage, or other methods, there are various ways to accomplish this depending on your preferences and available tools. By understanding and using these methods, you can easily manage your photo library, keep your device running smoothly, and ensure your memories are safely backed up.


