Why Switch from Android to iPhone?

Before diving into the transfer process, it’s essential to understand why you might want to switch from Android to iPhone.
Enhanced Security and Privacy
Apple’s iOS is renowned for its strong security and privacy features. With regular updates and a more controlled ecosystem, iPhone users often experience fewer security vulnerabilities.
Seamless Integration with Other Apple Devices
If you already own other Apple devices like a MacBook, iPad, or Apple Watch, switching to an iPhone can offer a more integrated and cohesive experience. Apple’s ecosystem allows for easy sharing of files, messages, and more across devices.
User-Friendly Interface
iOS is known for its intuitive and user-friendly interface. If you’re looking for a straightforward, easy-to-navigate operating system, iPhone might be the right choice.
Preparing for the Switch
Before you start the actual transfer, you need to prepare both your Android and iPhone devices. Here’s what you should do:
Backup Your Android Device
Backing up your Android phone is crucial. It ensures that all your important data is saved and can be transferred to your new iPhone.
- Use Google Backup: Go to Settings > System > Backup, and make sure Google Backup is enabled. This will save your app data, call history, contacts, and settings to Google Drive.
- Manually Backup Photos and Videos: Use Google Photos or another cloud service to back up your photos and videos. This way, you can easily access them from your iPhone.
Set Up Your New iPhone
Before transferring data, set up your new iPhone:
- Turn On Your iPhone: Follow the on-screen instructions to select your language, country, and connect to Wi-Fi.
- Sign In with Your Apple ID: If you don’t have an Apple ID, you’ll need to create one. This will help you access the App Store, iCloud, and other Apple services.
- Update to the Latest iOS: Make sure your iPhone is running the latest version of iOS. Go to Settings > General > Software Update to check for updates.
Transferring Data from Android to iPhone

Now that your devices are ready, it’s time to transfer your data. There are several methods to choose from, depending on what data you want to transfer and your personal preferences.
Using the Move to iOS App
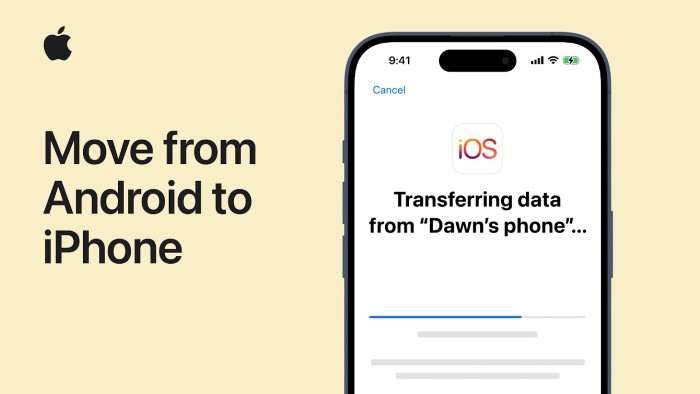
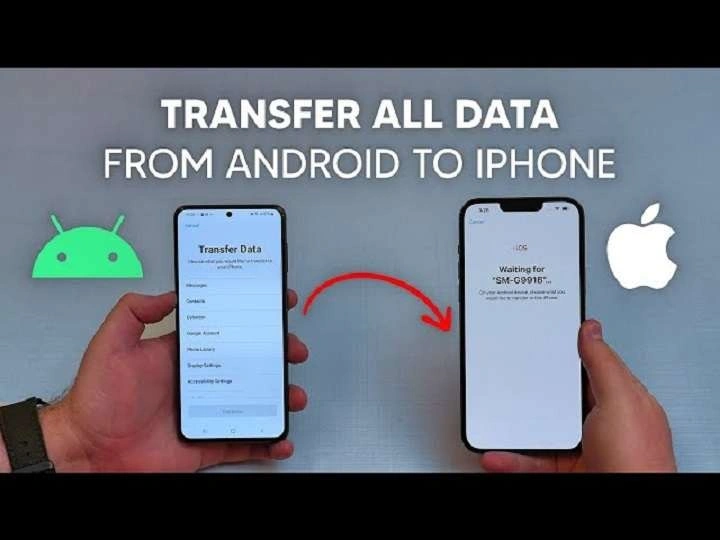
Apple’s Move to iOS app makes the transition from Android to iPhone relatively easy.
- Install Move to iOS on Your Android Device: Download and install the Move to iOS app from the Google Play Store.
- Prepare Your iPhone: On your new iPhone, start the setup process. When you reach the “Apps & Data” screen, select “Move Data from Android.”
- Connect Both Devices: Open the Move to iOS app on your Android device. Follow the on-screen instructions to connect your Android device to your iPhone via a temporary Wi-Fi network created by your iPhone.
- Select Your Data: On your Android device, choose the data you want to transfer, such as contacts, message history, photos, and videos.
- Transfer and Wait: Tap “Next” on your Android device, and the transfer will begin. The process can take a while, depending on the amount of data being transferred. Once it’s complete, you can finish setting up your iPhone.
Manually Transferring Contacts, Calendar, and Email
If you prefer a more hands-on approach or need to transfer specific data, you can manually move your contacts, calendar, and email.
Contacts
- Export Contacts from Android: Go to Contacts > Settings > Export. Save the contacts as a .vcf file on your device or Google Drive.
- Import Contacts to iPhone: On your iPhone, go to Settings > Contacts > Accounts > Add Account > Google. Sign in with your Google account and enable the “Contacts” toggle.
Calendar
- Sync Google Calendar with iPhone: On your iPhone, go to Settings > Calendar > Accounts > Add Account > Google. Sign in and enable the “Calendars” toggle.
- Manually Add Events: If you use another calendar service, export your calendar data as an .ics file and import it into your iPhone’s Calendar app.
- Add Email Accounts: On your iPhone, go to Settings > Mail > Accounts > Add Account. Choose your email provider and sign in with your account credentials.
- Configure Email Settings: Follow the prompts to configure your email settings and sync your messages.
Transferring Photos and Videos
If you didn’t use Google Photos for backup, you can transfer photos and videos manually.
- Use iCloud: Upload your photos and videos to iCloud from your Android device. On your iPhone, sign in to the same iCloud account and enable iCloud Photos.
- Use a Computer: Connect your Android device to your computer and transfer your photos and videos to a folder. Then, connect your iPhone to the computer and use iTunes or Finder to sync the folder to your iPhone.
Transferring Music
Transferring your music collection might require a bit more effort, especially if you have a large library.
- Use Apple Music: If you’re an Apple Music subscriber, you can easily sync your music library across devices. Just sign in to Apple Music on your iPhone, and your music will be available.
- Transfer Music via iTunes: Connect your Android device to your computer and copy your music files. Then, connect your iPhone to the computer, open iTunes (or Finder on macOS Catalina and later), and sync the music to your iPhone.
Transferring Apps and App Data
While you can’t directly transfer apps and their data, you can re-download apps from the App Store on your iPhone.
- Reinstall Apps: Go to the App Store on your iPhone and search for the apps you had on your Android device. Download and install them.
- Reconfigure App Settings: For apps that require login credentials, sign in to your accounts and configure your settings as needed.
Troubleshooting Common Issues
During the transfer process, you might encounter some common issues. Here’s how to resolve them:
Slow Transfer Speeds
If the transfer is taking longer than expected, ensure both devices are connected to a stable Wi-Fi network. Close any unnecessary apps and try restarting both devices.
Missing Data
If some data didn’t transfer, double-check that you selected all the necessary options during the transfer process. For contacts and calendar events, verify that they are synced correctly through your Google or iCloud account.
App Compatibility
Some Android apps might not be available on the iOS App Store. Check for alternative apps on the App Store or use web-based versions if available.
Finalizing Your New iPhone Setup
Once the transfer is complete, make sure your iPhone is fully set up and customized to your liking.
Customize Your Home Screen
Organize your apps, create folders, and set up widgets to personalize your home screen. You can also choose a wallpaper and adjust settings to match your preferences.
Set Up Security Features
Enable security features such as Face ID or Touch ID to secure your device. Go to Settings > Face ID & Passcode or Touch ID & Passcode to set up these features.
Explore iOS Features
Take some time to explore iOS features and settings. Familiarize yourself with new apps, settings, and customization options available on your iPhone.
Related Post:
How to Leave a Group Chat on Android: A Comprehensive Guide
Orion Stars Download for Android: Everything You Need to Know
How to See WiFi Password on Android: A Comprehensive Guide to Unveiling Your Network’s Secret
Transferring from an Android device to an iPhone doesn’t have to be a stressful experience. By following this comprehensive guide, you can ensure a smooth transition and make the most of your new iPhone. From backing up your data to troubleshooting common issues, you’re now equipped with the knowledge to switch devices seamlessly and enjoy all the benefits that come with owning an iPhone.


