Understanding Document Scanning on Android

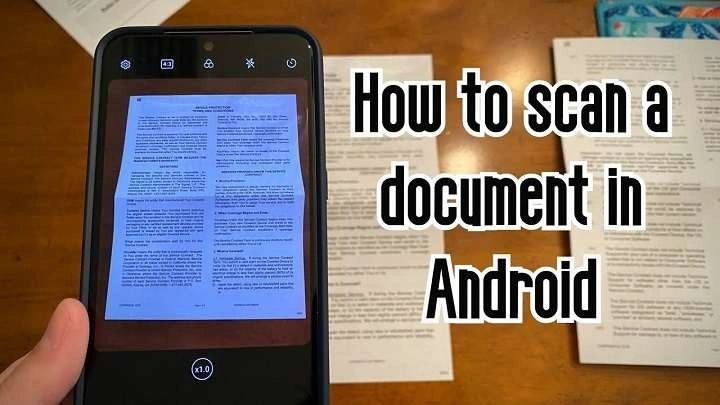
Document scanning involves converting physical documents into digital formats. While you might think of bulky scanners when you imagine scanning, modern Android devices are equipped with powerful cameras that can achieve similar results with the right apps and techniques.
Choosing the Right Document Scanning App
The first step in scanning documents on your Android device is choosing a suitable app. There are several options available, each with its own set of features. Here’s a look at some of the top scanning apps:
Google Drive
Google Drive’s built-in scanning feature is incredibly user-friendly and integrates seamlessly with other Google services. Here’s how to use it:
- Open Google Drive: Launch the Google Drive app on your Android device.
- Tap the Plus Icon: This icon is typically found at the bottom right of the screen.
- Select “Scan”: Choose the “Scan” option from the menu.
- Capture the Document: Position your document within the camera frame and take a picture.
- Adjust the Scan: Google Drive allows you to crop and adjust the image if necessary.
- Save the Document: Once you’re satisfied with the scan, save it to your Drive or share it directly from the app.
Adobe Scan
Adobe Scan is another popular choice, known for its powerful features and high-quality scans.
- Download Adobe Scan: Get the app from the Google Play Store and install it.
- Open the App: Launch Adobe Scan on your device.
- Sign In: You may need to sign in with your Adobe ID or create a new account.
- Start Scanning: Tap the camera icon and position your document for scanning.
- Edit and Enhance: Adobe Scan offers advanced editing tools to improve the quality of your scan.
- Save or Share: Save the scanned document as a PDF or share it via email or other apps.
CamScanner
CamScanner is a robust app with a variety of features, including OCR (Optical Character Recognition).
- Install CamScanner: Download and install the app from the Google Play Store.
- Open the App: Launch CamScanner on your Android device.
- Capture the Document: Tap the camera icon and take a photo of your document.
- Edit and Enhance: Use the app’s tools to crop, adjust, and enhance your scan.
- Save or Export: Save your document in various formats or export it to cloud storage services.
Preparing Your Document for Scanning

Before you start scanning, it’s essential to prepare your document to ensure the best possible results. Follow these tips to get clear and accurate scans:
Find Good Lighting
Proper lighting is crucial for clear scans. Natural light works best, but if that’s not available, use a well-lit room with minimal shadows. Avoid direct sunlight as it can create glare.
Flatten the Document
Ensure that your document is flat and smooth. Wrinkled or folded papers can result in distorted scans. If necessary, use a book or another flat surface to press down the document.
Clean the Camera Lens
A clean camera lens is essential for sharp and clear images. Wipe the lens gently with a microfiber cloth to remove any dust or smudges.
Scanning Techniques for Optimal Results
To achieve the best results when scanning documents on your Android device, follow these techniques:
Position the Document Properly
Place the document on a flat surface and align it with the edges of your camera frame. Most scanning apps will automatically detect the document edges, but it’s always good to ensure proper alignment.
Use the App’s Guidelines
Many scanning apps provide guidelines or templates to help you align your document correctly. Follow these guidelines to ensure your document is centered and fully captured.
Check the Quality
After taking the picture, review the scan for clarity and completeness. If the document appears blurry or incomplete, retake the photo or adjust the settings as needed.
Editing and Enhancing Your Scan
Once you’ve scanned your document, you may need to make some adjustments to improve its quality. Here’s how to edit and enhance your scans:
Cropping and Straightening
Most scanning apps allow you to crop and straighten your scans. Use these tools to remove any unnecessary background and ensure that your document is aligned properly.
Adjusting Brightness and Contrast
If your scan appears too dark or too light, adjust the brightness and contrast settings to improve readability. Many apps offer built-in tools for this purpose.
Using OCR Technology
Optical Character Recognition (OCR) technology can convert scanned text into editable digital text. This feature is available in apps like Adobe Scan and CamScanner. Use OCR to make your document searchable and editable.
Saving and Sharing Scanned Documents

After scanning and editing your document, you’ll want to save and share it. Here’s how to manage your scanned files:
Saving in Different Formats
Most scanning apps allow you to save your documents in various formats, such as PDF, JPEG, or PNG. Choose the format that best suits your needs.
Storing in Cloud Services
To ensure you don’t lose your documents, consider saving them to cloud storage services like Google Drive, Dropbox, or OneDrive. This also makes it easier to access your documents from different devices.
Sharing Scanned Documents
You can share your scanned documents via email, messaging apps, or social media. Simply select the document you want to share and choose your preferred sharing method.
Troubleshooting Common Scanning Issues
Even with the best apps and techniques, you might encounter some common issues while scanning documents. Here’s how to troubleshoot them:
Blurry Scans
If your scans are blurry, check if the camera lens is clean and ensure you’re holding the device steady while taking the picture. You may also need to adjust the focus or resolution settings in the app.
Incomplete Scans
If your scans are incomplete, make sure the entire document is within the camera frame. Use the app’s guidelines to help position the document correctly.
Document Not Detected
If the app doesn’t detect your document, ensure that it’s well-lit and clearly visible. Some apps may require a solid background or specific lighting conditions for optimal detection.
Best Practices for Document Scanning on Android
To make the most out of your document scanning experience, follow these best practices:
Regularly Update Your Scanning Apps
Keep your scanning apps updated to benefit from the latest features and improvements. Updates may include bug fixes, new editing tools, and enhanced scanning capabilities.
Backup Important Documents
Regularly back up important scanned documents to cloud storage or an external drive. This ensures that your documents are safe in case of device loss or damage.
Explore Advanced Features
Many scanning apps offer advanced features like batch scanning, document organization, and integration with other productivity tools. Explore these features to streamline your document management process.
Related Post:
Apple TV on Android: A Comprehensive Guide
How to Check Voicemail on Android: A Comprehensive Guide
What is Android System Intelligence? Understanding the Core Component of Your Android Device
Scanning documents on your Android device is a powerful tool that can simplify your life, whether you’re managing personal paperwork, handling professional documents, or digitizing important files. By choosing the right app, preparing your documents properly, and using effective scanning techniques, you can achieve high-quality scans and keep your documents organized. With the tips and best practices provided in this guide, you’ll be well on your way to mastering document scanning on Android.
Embrace the convenience and efficiency of digital document management, and say goodbye to the hassle of physical paperwork. Happy scanning!


